Summary
Unlock 3 Simple Techniques for Home Painting is a comprehensive guide designed to help homeowners achieve professional-quality paint finishes through effective preparation, painting techniques, and color application strategies. Painting a home can dramatically transform interior spaces, influencing room ambiance, perceived size, and overall aesthetic appeal. This guide emphasizes the importance of surface preparation, proper tool selection, and methodical application techniques to ensure smooth, durable results.
The guide outlines essential steps such as cleaning and repairing surfaces, selecting appropriate rollers and brushes based on wall texture, and applying primer correctly to enhance paint adhesion. It also covers fundamental painting methods like maintaining a “wet edge,” cutting in around edges, and choosing the right roller nap, all of which contribute to a flawless finish. The information is grounded in best practices widely recognized by painting professionals and home improvement experts.
Beyond technique, the guide explores how paint color and finish impact room perception, explaining how lighter colors and different sheen levels can enlarge or cozy up a space, and how finishes from matte to high-gloss affect both appearance and durability. It highlights the interplay between paint finishes and application methods, emphasizing tailored approaches depending on location and desired effect within the home.
The guide also addresses safety precautions, cleanup procedures, and common pitfalls to avoid, making it accessible for both novice and experienced painters. While largely instructional, it acknowledges challenges such as surface imperfections that can be exacerbated by improper preparation or finish choices, reinforcing the need for careful planning and execution to achieve optimal results.
Preparation
Proper preparation is essential for achieving a smooth, long-lasting paint finish. The surface to be painted must be clean, solid, and dry, free from cracks, imperfections, dust, grease, or any foreign substances. Cleaning can be done by wiping dry debris like dust and pet hair with a microfiber cloth, while grease and tougher residues should be washed off with a mild detergent and water solution. For mold or mildew on exterior surfaces, a mixture of bleach and water or commercial mildew removers can be used, often combined with sanding to remove stubborn growths.
Before painting, any damaged areas such as cracked or flaking paint should be scraped or sanded to ensure a smooth surface. Sanding not only removes imperfections but also promotes better paint adhesion. Patching holes and cracks with drywall compound or filler is necessary to create a crisp, professional look. After patching, priming the repaired spots seals the surface to prevent paint from sinking in and ensures uniform texture and color when painted over. It is important to match the primer application technique and roller nap thickness to the surrounding surface texture to blend seamlessly.
Using painter’s tape is an effective way to protect trim, baseboards, windows, doors, and fixtures from accidental paint splatters. The tape should be applied firmly in short, overlapping strips along edges, especially on non-textured surfaces, to prevent bleeding. Furniture hardware should be removed to avoid paint stains. Covering floors and furniture with drop cloths or plastic sheeting is also recommended to protect against drips and spills.
Choosing the correct tools for the surface is another key part of preparation. Rollers with thicker naps are suitable for rough or textured surfaces to reach crevices, while smooth walls require rollers with shorter naps or high-quality brushes. Synthetic bristle brushes are preferred for latex paints, with different sizes used for cutting in edges or covering large areas. Keeping paint supplies clean and well-maintained, such as properly drying and storing brushes and rollers, will help maintain their performance throughout the project.
Priming the walls is a critical step before applying the final paint coats. Use an angled brush to cut in around edges, ceilings, and windows, then cover larger areas with a roller, working in 3-by-3-foot sections using W or V-shaped strokes. Generally, one coat of primer is sufficient, but if a second coat is needed, ensure the first is fully dry before proceeding. Once primed and dry, the surface is ready for painting, starting again from the top and working downward for even coverage.
Painting Techniques
Successful home painting relies on using appropriate techniques tailored to the surface and desired finish. One fundamental approach is selecting the right roller nap thickness based on the texture of the surface. For rough or textured walls, a roller with a thicker nap is recommended to reach into crevices and provide even coverage, while smooth surfaces benefit from a shorter nap roller or a high-quality brush for a finer finish.
Proper paint loading is another essential technique. When using a brush, dip it only about a third of the way into the paint and tap off any excess to prevent drips and overloading. For rollers, rolling back and forth on the tray’s ramp helps distribute paint evenly across the roller surface. Maintaining a “wet edge” by working in small sections—about 2 to 3 feet at a time—and blending edges as you go prevents visible lines and ensures a smooth, consistent finish.
Cutting in around edges, corners, and trim with a brush before rolling the larger wall sections is a widely used technique. To achieve uniform texture, brush on the paint and immediately roll it out before the paint dries. Feathering the edges gently with a brush also helps avoid hard lines. Removing lint from rollers before use can further improve application quality.
Additionally, painting professionals emphasize the importance of using the appropriate roller nap to match the wall texture when priming patched areas, ensuring the finish blends seamlessly with the surrounding surface. Finally, mastering these basic painting techniques—correct roller and brush use, wet edge maintenance, and careful edge work—can greatly enhance the overall appearance and durability of a home paint job.
Influence on Room Appearance
The choice of paint color and finish significantly influences the perceived size, mood, and spatial dynamics of a room. Lighter colors such as whites, pale tones, and light neutrals tend to make a room feel larger and brighter by reflecting more light, especially when applied uniformly to walls and ceilings. Painting both walls and ceiling the same light color can enhance this expansive effect, creating a visually seamless and open space.
Conversely, darker tones absorb light, causing rooms to feel smaller, cozier, and more intimate. For instance, painting all walls and the ceiling in dark colors creates a cocoon-like atmosphere ideal for bedrooms or libraries where reduced light is desirable. Strategic use of darker accent walls can bring a pop of color while visually shortening or narrowing a room, adding depth and focal interest without overwhelming the space. Painting the ceiling in a lighter tone than the walls can also create the illusion of higher ceilings, which is particularly effective in rooms with low ceilings.
Color placement can further alter room proportions. Painting the two longer opposite walls in a bold, dark color narrows the room visually and draws the eye along its length, making it appear longer and more appealing in small spaces. Accent walls painted in darker hues serve dual purposes: creating a visual break to shorten a long room and introducing a striking design element.
The finish of the paint also plays a role in the room’s visual perception. Matte and flat finishes absorb light and help hide surface imperfections, making them suitable for walls with irregularities. In contrast, glossier finishes such as satin, semi-gloss, and pearl reflect more light, adding depth and brightness but may highlight surface flaws. Satin and eggshell finishes provide a balanced reflectivity that brightens the room without excessive glare, making them popular choices for most interior walls. Semi-gloss finishes, known for their durability and moisture resistance, are often used in high-traffic or moisture-prone areas like kitchens and bathrooms, and their reflective quality can create a sleek, polished look.
Innovative textured finishes, including Venetian plaster and suede effects, add dimension and character to walls by manipulating light absorption and reflection, further influencing the room’s ambiance. These techniques combine traditional craftsmanship with modern aesthetics to enhance the spatial experience without altering structural dimensions.
Interaction of Paint Finishes with Techniques
Choosing the right paint finish is crucial to both the aesthetic outcome and durability of a painted surface, and it directly influences the effectiveness of various painting techniques. Paint finishes range from matte and flat to satin, eggshell, semi-gloss, and high-gloss, each offering different levels of sheen, durability, and washability that interact uniquely with application methods and surface preparation.
Matte and flat finishes provide a non-reflective surface that excels at hiding imperfections and giving depth to colors. These finishes are ideal for walls in low-traffic areas or spaces where a smooth, understated look is desired. They work well with techniques that emphasize color richness and subtlety, but they are less durable and harder to clean, which can affect their performance in busier areas.
Eggshell and satin finishes balance a moderate sheen with better stain resistance and durability, making them suitable for rooms that experience higher traffic or require frequent cleaning. Satin paint, in particular, offers a smooth, lustrous finish that highlights architectural details such as trim, shutters, and interior doors. These finishes work effectively with techniques that aim to create definition and contrast, as their reflective qualities add dimension without excessive glare.
Semi-gloss and high-gloss paints have higher reflectivity and greater durability, making them perfect for accent walls, cabinetry, trim, and areas exposed to moisture such as kitchens and bathrooms. Their glossy surfaces make painted features “pop” visually, enhancing decorative techniques that focus on highlighting and creating focal points. However, these finishes also highlight surface imperfections, so proper surface preparation—such as thorough cleaning and smoothing—is essential before application to achieve the best results.
In terms of application, the choice of finish affects the required preparation techniques. For example, surfaces intended for glossy finishes need to be meticulously cleaned and primed to avoid highlighting any underlying flaws. Cleaning products designed for painted or varnished surfaces can improve adhesion of new paint, which is especially important for higher-sheen finishes. Additionally, environmental conditions should be considered; exterior painting with glossy or semi-gloss paints requires dry weather above 50 degrees Fahrenheit to ensure proper curing and durability.
Ultimately, selecting a paint finish should align with the desired technique and location within the home. Matte and eggshell finishes are preferable for large wall surfaces where subtlety and hide imperfections are priorities, while satin, semi-gloss, and high-gloss finishes excel in areas requiring durability, washability, and visual emphasis. This interaction between finish type and painting technique enables homeowners and professionals to achieve both functional and aesthetic goals effectively.
Safety Tips
When undertaking a home painting project, ensuring safety is paramount. It is important to work in a properly ventilated space to avoid inhaling paint fumes, which can be harmful over prolonged exposure. Wearing protective gear such as rubber gloves, eye protection, old clothes, and a hat helps prevent skin irritation and protects against accidental splashes of paint or cleaning chemicals.
Before starting, prepare the area by laying out floor coverings to protect surfaces from paint spills and splatters. Cover at least three feet away from the walls where you will be working to prevent damage to carpets or flooring. Additionally, removing outlet covers carefully is essential to avoid peeling paint or damaging drywall. If outlets feel loose in the wall, tightening them beforehand is advisable to maintain a stable surface.
Cleaning walls and trim with a heavy-duty cleaner prior to painting helps remove dirt and grease, improving paint adhesion and the final finish. Keep cleaning supplies and paint mixing tools nearby for convenience during the project, and always dispose of materials safely after use.
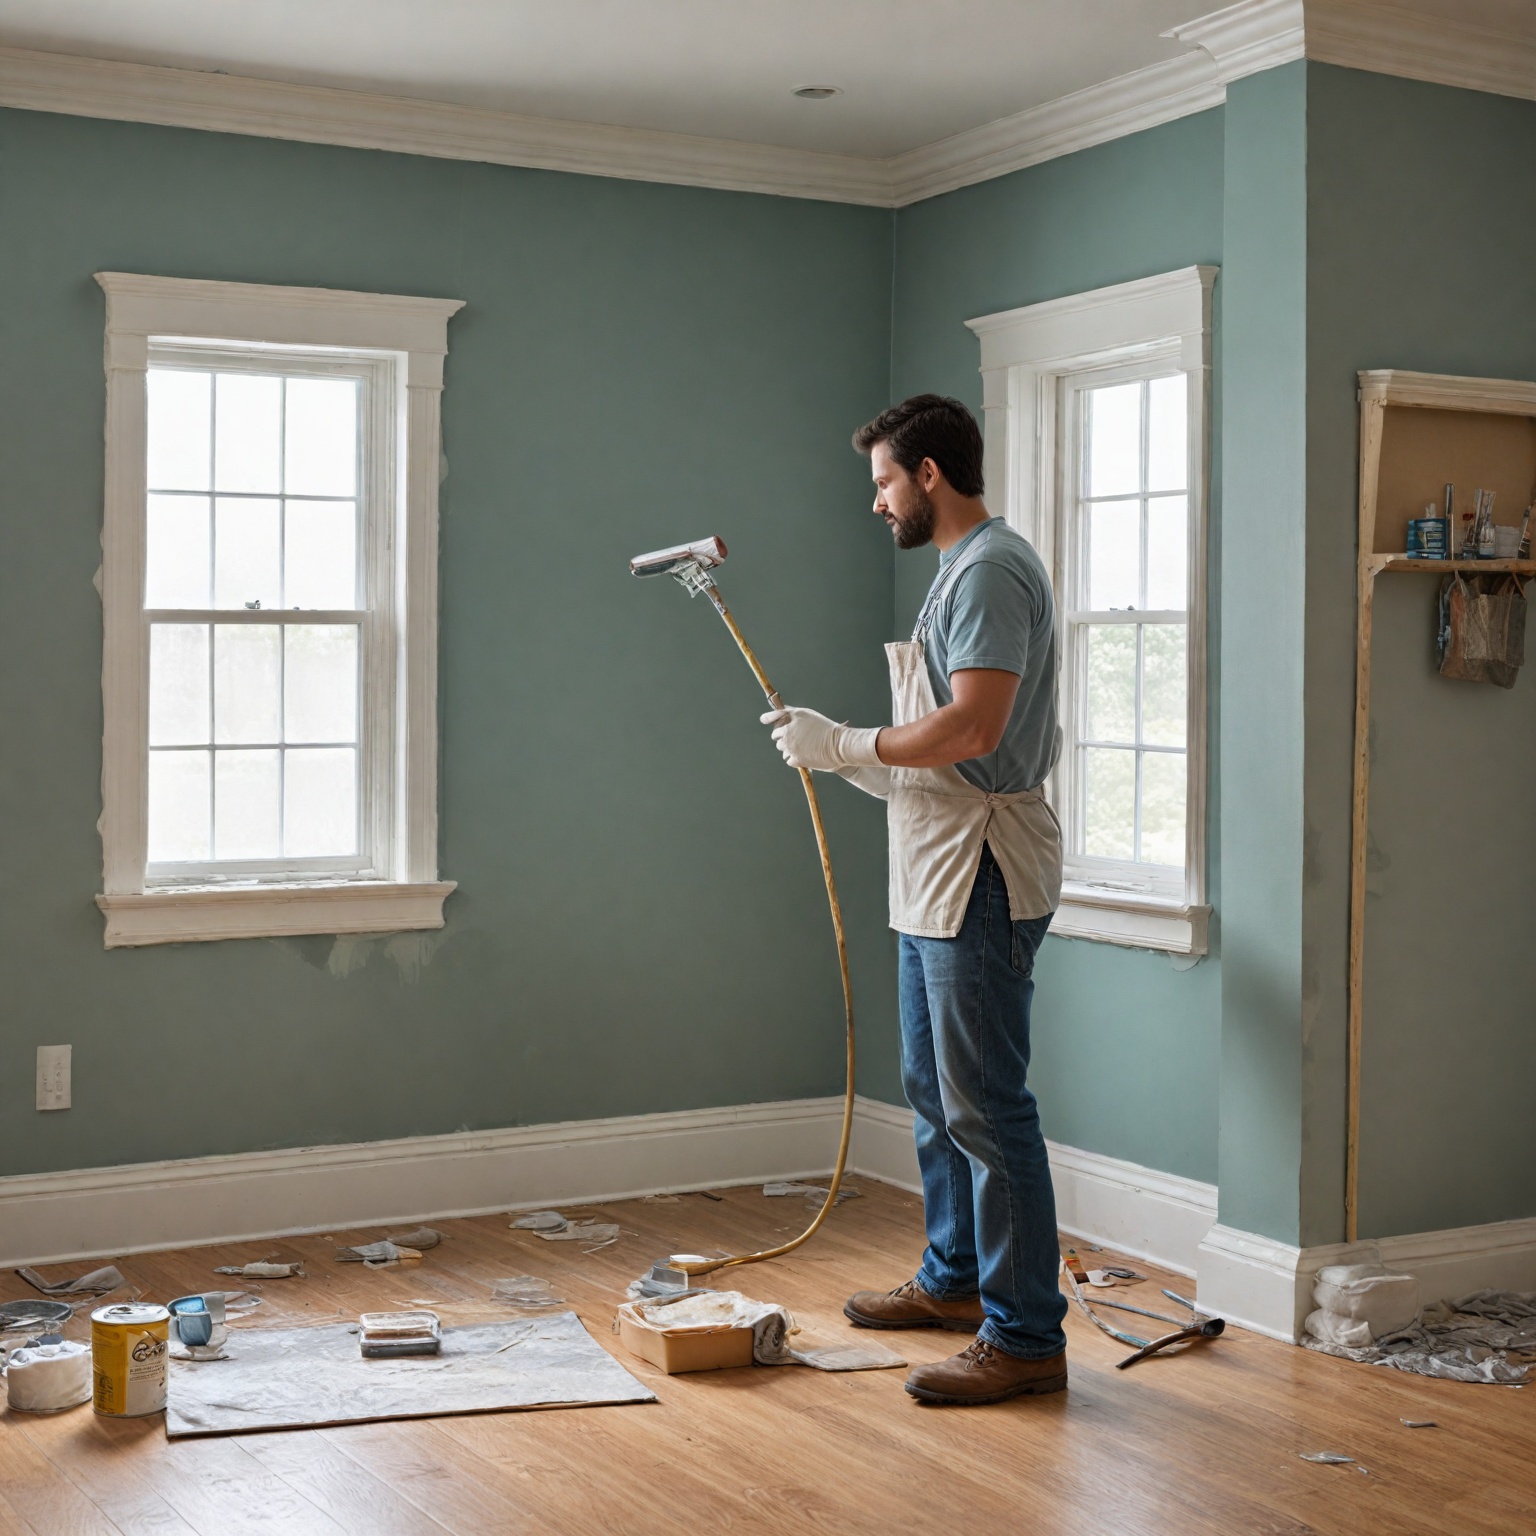
When using paint sprayers, operate the equipment smoothly and maintain consistent motion to avoid uneven paint deposits. Using recommended techniques like the spray and back-roll method can speed up the job and ensure even coverage but may require assistance for best results. Taking these safety precautions not only protects your health but also contributes to a more professional and successful painting outcome.
Cleanup and Maintenance
Proper cleanup and maintenance are essential components of any successful home painting project. After completing the painting, it is important to handle tools and materials carefully to ensure their longevity and maintain a professional finish.
To clean paintbrushes, first remove excess moisture using paper towels. Avoid placing wet brushes upright in containers, as moisture can seep into the metal ferrule and cause rusting. Instead, lay brushes flat or hang them on hooks to dry. Once dry, store brushes in their original sleeves to preserve the shape of the bristles. For paint roller covers, use a curved blade tool to scrape off excess paint before cleaning thoroughly.
Reusing brushes and rollers multiple times can help reduce costs over time, making them more economical than other painting tools. Proper cleaning and storage significantly extend their usability, allowing for several good painting runs before replacement is needed.
In addition to tool maintenance, cleaning the painting area and protecting surfaces is vital. Using masking tape and brown paper to cover windows, doors, or areas not intended for painting prevents unwanted overspray and simplifies cleanup. While spray painting can save time, the preparation involved in masking may offset this advantage. For surfaces like weatherboard, using a brush rather than a roller is recommended, as rolling sideways can be more challenging than brushing.
Common Mistakes to Avoid
One of the most frequent mistakes when painting a home is neglecting to properly prepare the surface. Cracked or flaking paint can create unsightly lumps and imperfections, so it is essential to scrape or sand any areas with damaged paint before applying a new coat. Additionally, protecting nearby surfaces and furniture during preparation is critical to avoid unwanted paint splatters and damage.
Another common error is overlooking imperfections after applying the second coat. It is recommended to carefully inspect the walls for missed spots, streaks, or roller marks. If any flaws are detected, lightly sanding the affected areas and re-touching them with a brush or roller can help achieve a smooth, professional finish.
Finally, many beginners worry about inexperience, but painting is relatively inexpensive and forgiving compared to other home improvement projects. Mistakes can often be easily corrected, making it a highly impactful and approachable task even for those new to using paintbrushes or rollers.
Additional Resources
For those looking to enhance their home painting projects, a variety of resources are available to provide expert guidance and product recommendations. Local home improvement stores such as Home Depot and Lowe’s offer most, if not all, of the necessary materials, including high-quality paints, brushes, and rollers. Investing in quality tools is essential, as cheaper products can negatively affect the final outcome.
HGTV is another valuable resource, offering expert advice on painting techniques, choosing the right brushes, and preparation tips to help achieve professional results. Their editorial team, backed by over 30 years of experience, regularly shares inspiration, how-to guides, and product recommendations that can help both beginners and experienced painters alike.
For those interested in the finer points of paint application, detailed advice is available on proper drying times and tape removal techniques. For example, waiting at least 24 hours for paint to dry before carefully slicing through the paint film with a sharp utility knife helps avoid messy edges and ensures a clean finish.
Additionally, comprehensive guides on interior painting emphasize the importance of careful planning and proper preparation to achieve professional-quality results. These resources cover everything from selecting the right paint to mastering essential painting techniques for walls, ceilings, and other interior surfaces.
Together, these resources provide a well-rounded foundation for anyone looking to undertake home painting projects with confidence and skill.
The content is provided by Sierra Knightley, Home Upgrade News