Summary
Unlocking the Potential of Your Budget: The Ultimate Guide to DIY Painting is a comprehensive resource aimed at homeowners and enthusiasts interested in undertaking painting projects themselves to personalize their living spaces while managing costs. DIY painting has grown in popularity as a cost-effective alternative to professional services, offering flexibility and creative control over finishes and textures. This guide highlights the use of affordable, eco-friendly paint options such as clay and chalk-based formulations, which provide versatile aesthetics ranging from smooth to textured effects, and emphasizes the importance of proper budgeting and planning to avoid common pitfalls.
Successful DIY painting requires careful preparation, including accurate measurement of surfaces, selection of appropriate primers, and application techniques that enhance paint adhesion and durability. The guide discusses essential materials and tools, from basic brushes and rollers to advanced equipment like paint sprayers, offering tips to achieve professional-quality results. It also addresses common challenges such as surface imperfections, paint drips, and adhesion failures, providing troubleshooting strategies to minimize costly mistakes.
While DIY projects can reduce upfront labor costs, hidden expenses related to errors, inefficiencies, and time investment often arise. The guide compares DIY and professional painting, noting scenarios where hiring experts may be more efficient or necessary, especially for complex or hazardous jobs. It also outlines cost-saving strategies, maintenance practices, and the long-term benefits of high-quality materials and thorough surface preparation, aiming to help readers maximize the value and longevity of their paintwork.
This guide serves as both an instructional manual and a planning tool, equipping readers with knowledge to make informed decisions about their painting projects. By combining practical advice with insights into budgeting, materials, and techniques, it empowers homeowners to unlock the full potential of their painting budget while enhancing their living environments with confidence and creativity.
Overview of DIY Painting
DIY painting is an increasingly popular choice among homeowners looking to enhance their living spaces while managing costs and personalizing their environment. One widely favored option in this realm is DIY Paint, a non-toxic, all-natural clay and chalk-based paint known for its unique texture versatility. The clay component allows the paint to achieve a range of finishes, from smooth surfaces to chippy, textured effects, making it suitable for various creative projects. Additionally, DIY Paint stands out as one of the most affordable brands available because it is sold directly from the factory to retailers, reducing markup costs.
When embarking on a DIY painting project, it is important to carefully consider and measure the painting area to budget accurately. Proper measurement ensures there is enough paint for touch-ups and helps maintain color consistency across the space, contributing to a seamless final result. Beyond just the price of paint, a successful DIY project also requires budgeting for tools and supplies, as well as accounting for the time investment needed. While DIY painting generally has lower upfront costs—since the primary expenses are materials and equipment—it may carry hidden risks such as errors or inefficiencies that could increase overall costs in the long run. Conversely, professional painting services often demand higher initial expenses but may provide better value through expertise and efficiency.
An essential preparatory step in any painting project, whether DIY or professional, is the application of a primer or undercoat. Primers improve paint adhesion, increase durability, and protect the underlying material. Typically composed of synthetic resin and solvents, primers serve as a foundational layer that enhances the longevity and finish quality of the paint.
For those interested in adding more character to their painted surfaces, various painting techniques can introduce texture and personality. While these methods are not inherently difficult, they often require extra time, experimentation, and patience to perfect the desired look. Ultimately, the decision to undertake a DIY painting project depends on factors such as prior experience, project size, and budget constraints. DIY is generally more suitable for small projects, those with some painting experience, or when cost savings are a priority.
To aid in a successful DIY painting endeavor, expert tips and hacks from professional painters and contractors can simplify the process and minimize cleanup, making it more manageable and enjoyable for homeowners.
Planning Your DIY Painting Project
Embarking on a DIY painting project requires careful planning to balance budget, time, and desired quality. While DIY painting can be a cost-effective option—especially for small projects or for those with prior experience—it often demands significant time investment and preparation to achieve satisfactory results.
Assessing the Scope and Budget
Begin by evaluating the size and complexity of your project. Painting a single wall or a small piece of furniture is more manageable and affordable than tackling entire rooms or exterior surfaces. Keep in mind that the cost of materials such as high-quality paint, brushes, rollers, ladders, and tape can range from $200 to $500 or more, depending on the project scale. It is wise to set aside extra funds for unexpected expenses, including potential repairs from mistakes like uneven coats or spills. Understanding these hidden costs early on can help prevent budget overruns.
Choosing Paint and Finishes
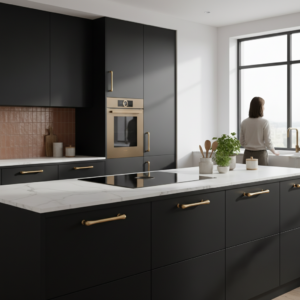
Selecting the right type of paint and finish is essential for both aesthetics and durability. Consider whether you need primers, finish coats, or specialized interior or exterior paints, as each serves unique purposes for different surfaces. Testing paint samples on small wall patches is recommended to ensure the color and sheen complement your space before committing to large quantities. For beginners, water-based paints are often preferable due to their quick drying times and versatility across surfaces.
Regarding finishes, satin, semi-gloss, and gloss paints offer varying levels of light reflection and durability. Satin finish is favored for its subtle sheen and washability, making it suitable for high-traffic areas like kitchens and bathrooms, though it may reveal surface imperfections. Semi-gloss and gloss finishes are more durable and moisture-resistant, ideal for trim and molding, but their texture is glossier and can feel plastic-like compared to satin.
Time Management and Skill Considerations
DIY painting projects can be time-consuming, requiring patience and sometimes multiple test runs to perfect techniques or textures. If you lack experience, mistakes may prolong the project and increase costs due to additional materials or repair needs. However, if you are confident in your skills and can dedicate the necessary time, DIY painting offers a rewarding opportunity to personalize your space and control your budget.
When to Consider Professional Help
Certain painting challenges, such as intricate exterior surfaces, weatherproofing, or dealing with hazardous materials like lead-based paint, warrant hiring professionals to ensure safety and quality. Professionals can complete projects efficiently without compromising results, minimizing disruption and avoiding common DIY pitfalls.
By carefully assessing these factors and planning accordingly, you can unlock the full potential of your budget and successfully undertake your DIY painting project.
Materials and Tools for DIY Painting
When embarking on a DIY painting project, selecting the right materials and tools is essential to achieve a professional-looking finish and ensure an efficient process. Beginners are advised to invest in quality supplies that build confidence and skill without necessarily breaking the bank.
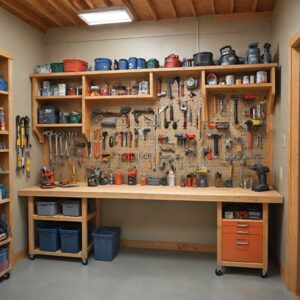
Essential Painting Tools
Basic tools include paintbrushes, rollers, and paint trays, which are sufficient for most home painting jobs. It is recommended to buy a paint tray that fits the roller size and has a deep well to hold ample paint, reducing the frequency of refills. To protect floors and furniture, using drop cloths is critical. Modern options like CoverGrip Safety Drop Cloths offer a tacky surface that keeps them securely in place on various floor types, improving ease and speed during preparation.
Masking or decorating tape is indispensable for clean edges around windows, light sockets, and skirting boards. It prevents paint mistakes and guides precise cutting in. For accessing high or hard-to-reach areas safely, a sturdy step ladder or step stool is highly recommended.
Advanced Tools and Techniques
For those seeking to add texture or a unique look, paint sprayers provide a smooth, even finish on large or intricate surfaces. However, they require practice to use effectively and must be operated with proper safety measures in place. Beyond simple brushes and rollers, incorporating specialized tools can significantly improve efficiency, speed, and cleanliness during painting.
Paint and Primer Selection
Choosing the right type of paint and primer is vital for durability and appearance. Water-based paints, including latex and acrylic, dominate the market due to their quick drying times, ease of cleanup with soap and water, and lower emissions of volatile organic compounds (VOCs). Latex paint is widely used for interior walls and ceilings, appreciated for its eco-friendliness and mildew resistance, while acrylic paint is favored for humid indoor areas and offers vibrant color retention.
Primers serve as a foundational layer that improves paint adhesion and surface uniformity. They come in oil-based, latex, and pigmented shellac varieties, each suited to different substrates and conditions. Latex primers are generally preferred for interior drywall due to their flexibility and fast drying, whereas oil-based primers are better for exterior use but are not recommended for masonry.
Cost Considerations
DIY painting initially appears cost-effective as you mainly pay for materials and equipment. However, hidden costs such as mistakes, inefficiency, and potential rework can accumulate and may result in higher overall expenses compared to professional painting services. Careful planning, including accurate measurement of the painting area, helps budget correctly and ensures color consistency throughout the project.
Best Practices
Applying at least two coats of high-quality paint and using high-quality brushes or rollers is advised to avoid common novice mistakes like drips and streaks, which often stem from overloading the applicator with paint. Proper preparation, including the use of appropriate primers and protective tools, sets the foundation for a successful DIY painting experience.
Surface Preparation Techniques
Proper surface preparation is a crucial step in any painting project to ensure long-lasting adhesion and a professional finish. The techniques involved vary depending on the type of surface, its condition, and environmental factors.
Cleaning and Degreasing
Before painting, surfaces must be thoroughly cleaned to remove dirt, grease, soap, and oil buildup. This can be achieved using appropriate cleaners followed by a thorough rinse with water. Allowing the surface to dry completely is essential before proceeding to the next steps. For stubborn contaminants, high-pressure washing with hot or cold water can be utilized to ensure a clean substrate.
Removal of Old Paint and Rust
Old, cracked, or flaking paint should be scraped or sanded off to prevent imperfections in the new coat. In the case of metal surfaces, especially steel, rust and scale need to be removed. Mechanical cleaning methods such as sandblasting or liquid honing are effective in increasing surface roughness, which promotes better paint adhesion. Additionally, phosphating transforms the steel surface into a thin coat of iron phosphate, enhancing corrosion resistance and paint adhesion. However, prior to phosphating, the surface must be free from rust, oils, and other contaminants.
Surface Repairs and Smoothing
Any holes, cracks, or imperfections should be patched using spackling or suitable fillers. After drying, these areas need to be sanded smooth to create an even surface for painting. For glossy or nonporous surfaces, light sanding or using an abrasive cleanser is recommended to dull the finish and improve paint adhesion.
Priming
Applying a primer is an essential step that can significantly affect the durability and appearance of the paint job. Primers not only promote adhesion but also protect the surface and help cover stains. The choice of primer depends on the substrate; for example, oil-based primers are effective for wood surfaces and help fill minor damages. When repainting wood that has previously been painted, it is important to sand off as much old paint as possible to avoid flaking and uneven finishes.
Additional Considerations
Surface conditions such as existing rust, previous paint layers, and the environmental exposure of the part should be taken into account when selecting preparation techniques. Mechanical stresses like friction or vibration also influence the choice of pre-treatment. Maintaining a wet edge while painting and allowing sufficient drying time between coats prevents adhesion problems such as paint blocking or sticking of doors and windows.
Painting Application Methods
When it comes to applying paint in DIY projects, several methods can be employed depending on the surface, desired finish, and personal skill level. Understanding the techniques and tools involved can greatly improve the outcome of your painting job.
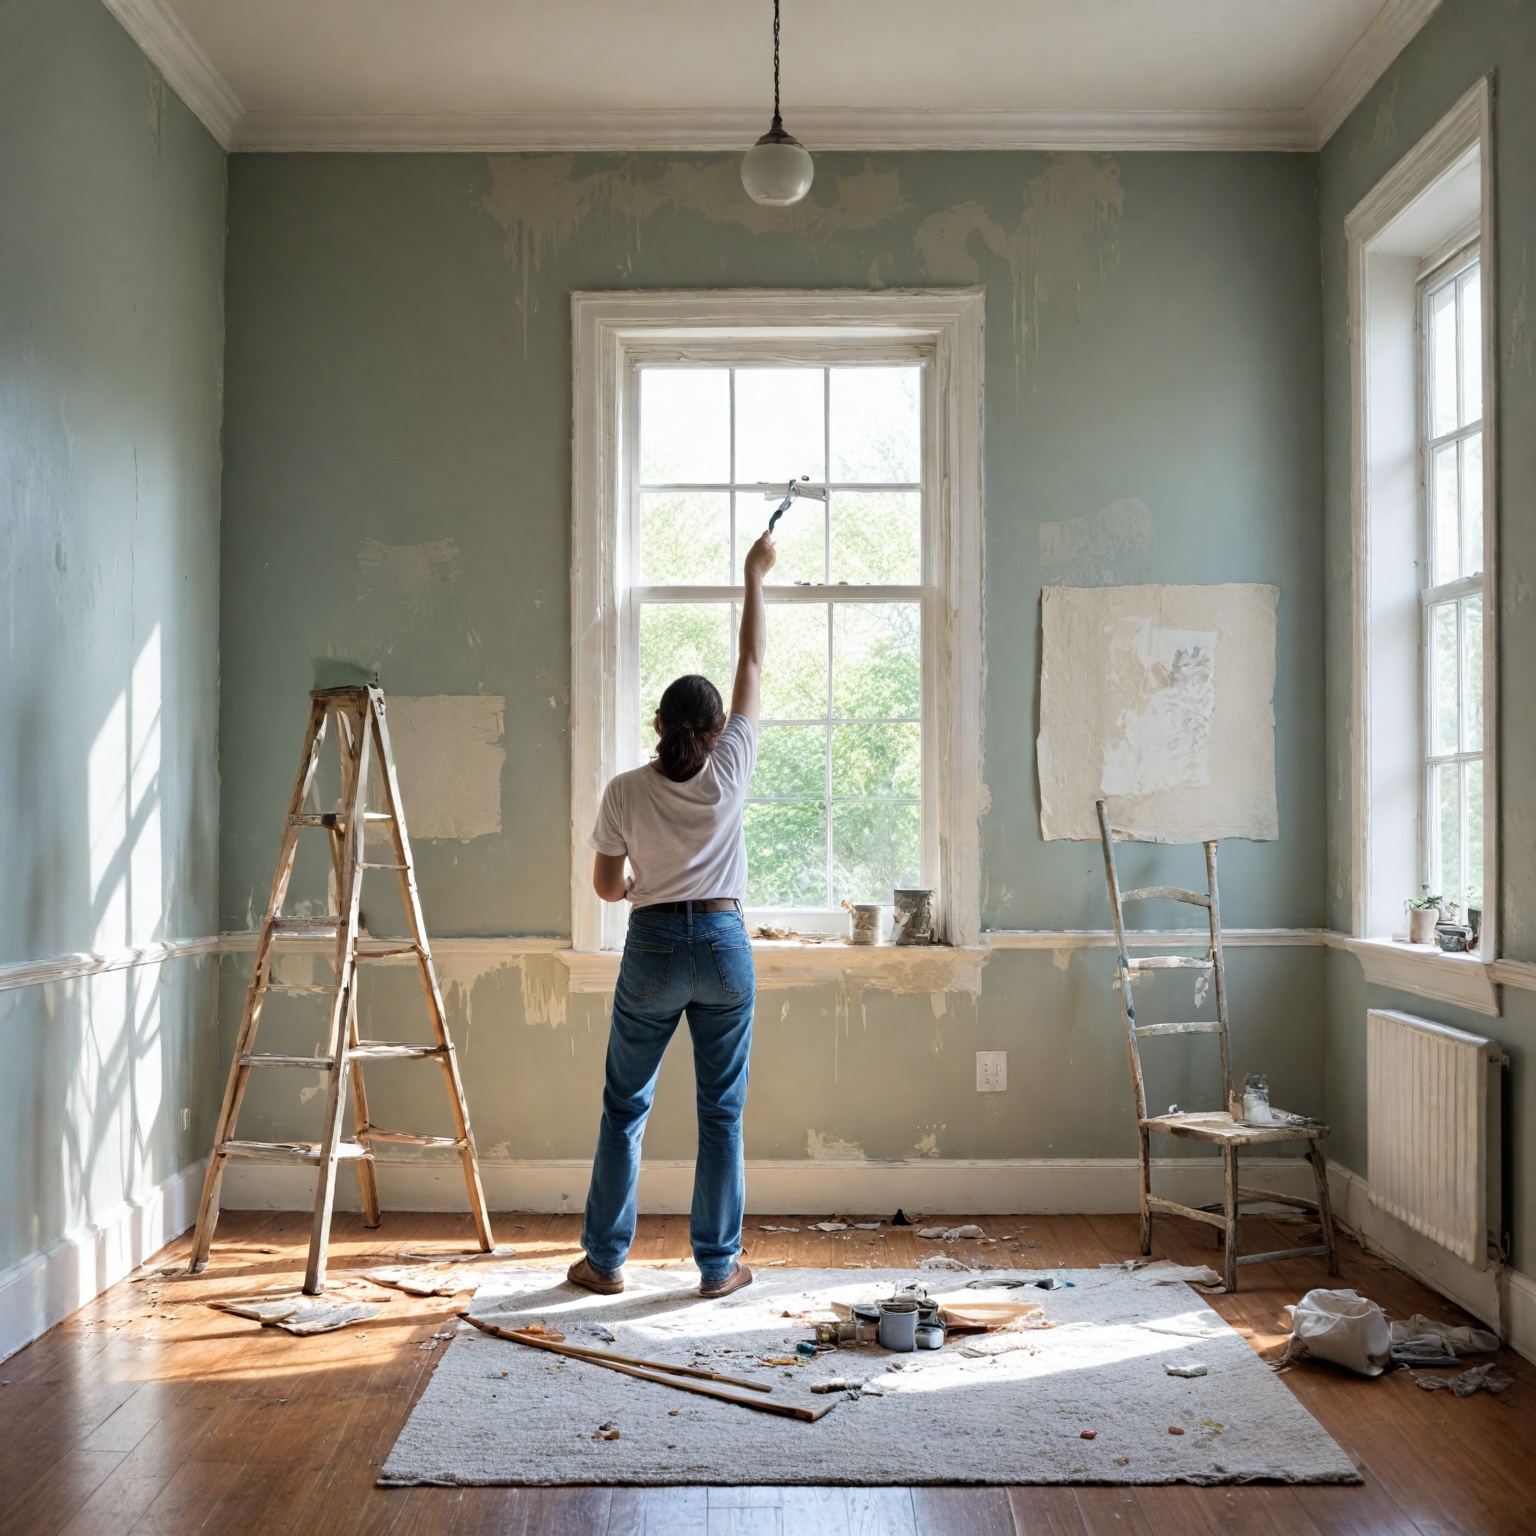
Brush and Roller Techniques
For beginners, starting with brushes and rollers is recommended as they provide good control and are suitable for a variety of surfaces. Proper brush loading is essential: dip about one-third of the bristles into the paint and tap off excess gently to avoid drips. Use long, even strokes with light pressure, holding the brush at a 45-degree angle for optimal coverage and paint release. Painting in continuous, overlapping strokes without lifting the brush mid-stroke helps maintain a smooth finish. Working in manageable sections of 3 to 4 feet while keeping a wet edge ensures seamless blending of strokes. Practice on a sample board before applying paint on the final surface to perfect your technique. Using painter’s tape can help create crisp geometric patterns such as stripes or chevrons; remove the tape while the paint is still slightly wet to achieve the sharpest lines.
Rollers are efficient for covering large flat surfaces and are best used with thin, even coats of paint to avoid drips and streaks. It is important to check the painted area under various lighting conditions and angles to ensure even coverage and correct any imperfections early on.
Paint Sprayers
Paint sprayers are another option, particularly effective for large or intricate surfaces where a smooth, even finish is desired. However, they require practice to master and should be used with proper safety precautions to avoid overspray and health risks. Paint sprayers can significantly speed up the painting process but may not be suitable for all DIYers due to the learning curve and equipment cost.
Specialized Tools for Efficiency and Cleanliness
Beyond basic brushes and rollers, additional tools can improve efficiency and reduce mess. Paint spouts that snap onto paint cans help direct paint precisely and prevent spills on the can or floor. Using LED work lamps instead of halogen lights reduces heat and energy consumption, while clip-on task lights can assist in touch-ups during evening work. To maintain paint freshness during breaks, plastic wrap can be used to cover paint buckets and rollers for up to 10 days, eliminating the need for immediate cleaning and reducing waste.
Surface Preparation and Environmental Considerations
Effective painting application is not limited to the technique alone; proper surface preparation is equally critical to ensure adhesion and a professional finish. Cleaning, sanding, and priming the surface according to the substrate and environmental conditions prevent issues such as poor adhesion, streaking, or uneven coverage. For exterior surfaces, avoid painting during high humidity (above 50%), immediately after rain, or when temperatures are below 50°F unless using specialized products. Adequate ventilation and dry conditions promote optimal drying and curing of paint layers.
By combining appropriate tools, techniques, and surface preparation, DIY painters can achieve professional-quality results while maximizing the value of their budget and effort.
Common Challenges and Troubleshooting
DIY painting projects often come with a variety of challenges that can impact both the quality of the finish and the overall budget. Many common issues stem from insufficient preparation, improper technique, or the use of low-quality materials. Understanding these challenges and how to address them is essential for achieving professional-looking results.
One of the most frequent problems encountered is poor surface preparation. Skipping or rushing through this critical step can lead to spotty coverage, streaks, and uneven texture on walls, resulting in a finish that looks unpolished and is less durable. Proper preparation involves cleaning, sanding, and priming surfaces to ensure paint adhesion and a smooth base.
Paint drips and runs are another common difficulty, typically caused by applying too much paint or painting under unsuitable conditions such as high humidity or low temperatures. These drips can leave unsightly, uneven marks and may require sanding and recoating to fix. To prevent this, it is recommended to apply paint in thin, even
Cost-Saving Strategies
When planning a DIY painting project, managing expenses effectively is crucial to maximizing your budget. While doing the work yourself eliminates labor costs, several strategies can help reduce both upfront and hidden expenses.
One key approach is to carefully select materials and tools. High-quality paint, brushes, rollers, ladders, tape, and other supplies are necessary but can be costly, ranging from $200 to $500 or more depending on project size. However, opting for budget-friendly paint brands such as Behr, Valspar, or Glidden can offer reliable performance without sacrificing quality, especially when surfaces are properly prepped and the right application techniques are used. Additionally, purchasing supplies from discount outlets or during sales, like those found at The Paint Shed, can further reduce costs.
Proper planning and preparation help avoid common mistakes that can increase expenses. Errors like uneven coats or paint spills may require additional paint or repairs, driving up the total cost. To minimize waste, buy the right amount of paint and store it properly to preserve freshness, which allows for multiple sessions without repeated purchases. Using disposable tools sparingly can speed up cleanup but should be balanced against environmental concerns.
Time investment is another important factor in cost-saving. While DIY projects save on labor fees, they demand significant time and effort, which could otherwise be spent on work or family. If speed and high-quality finish are priorities, hiring a professional may provide better value despite higher upfront costs. For those committed to DIY, breaking the project into manageable stages and using efficient techniques can reduce fatigue and improve results.
Finally, when comparing DIY versus professional painting, request itemized quotes to understand cost breakdowns and seek package deals that bundle services for potential savings. Balancing budget, time, and desired quality will help determine the most cost-effective approach for each unique situation.
Maintenance and Longevity of Painted Surfaces
Proper maintenance and surface preparation are critical to maximizing the lifespan and appearance of painted surfaces. One of the primary concerns with exterior paint is chalking as it ages; however, certain products like Benjamin Moore’s Aura exterior acrylic paint are designed to resist this common issue, ensuring longer-lasting aesthetics. Additionally, paints such as Coronado Cryli Cote provide strong adhesion and durability while being cost-effective, contributing to prolonged surface protection without frequent repainting.
Surface preparation plays a vital role in ensuring paint longevity. Effective cleaning methods, including high-pressure washing to remove contaminants like rust, scale, oils, and welding residues, help create an optimal roughness that favors paint adhesion. Following cleaning, removing dust through vacuuming and repairing cracks with suitable fillers further enhances the surface quality before painting. These steps reduce the risk of paint failure caused by poor adhesion or underlying surface defects.
Maintenance also involves practical measures to preserve tools and finishes. For example, using scrubbing brushes and hot water to clean paintbrushes correctly can extend the life of painting equipment and ensure consistent application in future projects. Utilizing paint sprayers can achieve smooth and even finishes on complex surfaces, though proper handling and safety precautions are essential.
In terms of upkeep, applying a buffer coat or touch-up layer can help maintain color consistency across painted areas and protect the surface from environmental wear. Investing in high-quality paint and proper preparation can reduce the frequency of repainting, ultimately saving time and money while maintaining the surface’s protective and aesthetic functions.
Whether choosing a DIY approach or hiring professionals, understanding these maintenance and longevity factors can lead to better outcomes. Professional services often employ specialized equipment and coordinated teams to ensure consistent, high-quality finishes that stand the test of time, which can translate into significant returns on investment when selling a property.
Additional Resources
For beginners seeking to build a solid foundation in painting, a variety of tools and supplies are readily available both in-store and online, such as those offered by The Paint Shed. Their deals section provides opportunities to purchase essential painting tools at discounted prices, helping to manage costs while ensuring quality materials. Selecting the right tools depends on factors such as the surface to be painted and the type of paint used, making it important to consider these variables before assembling your kit.
Value-conscious buyers can also explore popular paint brands like Behr, Valspar, and Glidden, which are often recommended for affordable yet reliable interior painting projects. These brands balance cost-effectiveness with performance, making them suitable choices for large-scale or budget-sensitive endeavors.
For those new to painting, a comprehensive guide tailored to absolute beginners can facilitate a smooth start by outlining necessary skills and techniques. Beginners may find it helpful to begin with simple projects that require minimal skills, allowing them to build confidence and enjoy the creative process without feeling overwhelmed. Proper preparation of surfaces is another critical step, as it helps paint adhere better and improves the final appearance, making learning these preparatory techniques valuable for successful outcomes.
Understanding the trade-offs between DIY painting and hiring professionals is also beneficial. While DIY projects can appear less expensive upfront, hidden costs and time investments may impact overall value. Professionals offer speed and quality that minimize disruption, whereas DIY efforts provide control over the process and potentially lower immediate expenses.
Finally, maintaining clear records of income and expenses related to your painting activities can aid in managing your art business or collection more effectively, providing insight into financial health and helping to plan future projects.
The content is provided by Sierra Knightley, Home Upgrade News